Week 1: September 8, 2014
Welcome!
- Introduction to the class, syllabus review.
- Entrance Survey
Thanks to Sam Sheffield for much of the following content.
Start Making!
David Kelley, founder of IDEO.
Let's talk about cars
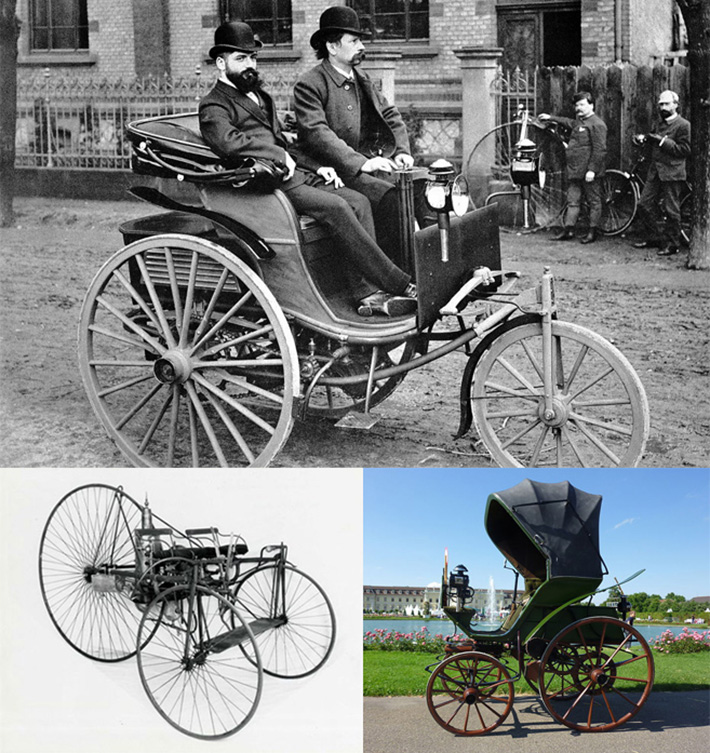
Early cars circa late 1900's
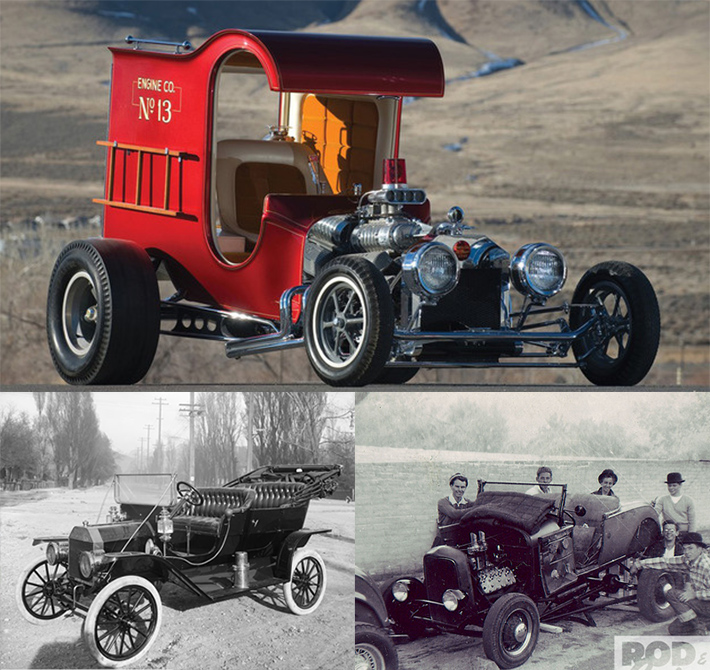
Hot rods of the 1930's - 1960's
"Next industrial revolution?"

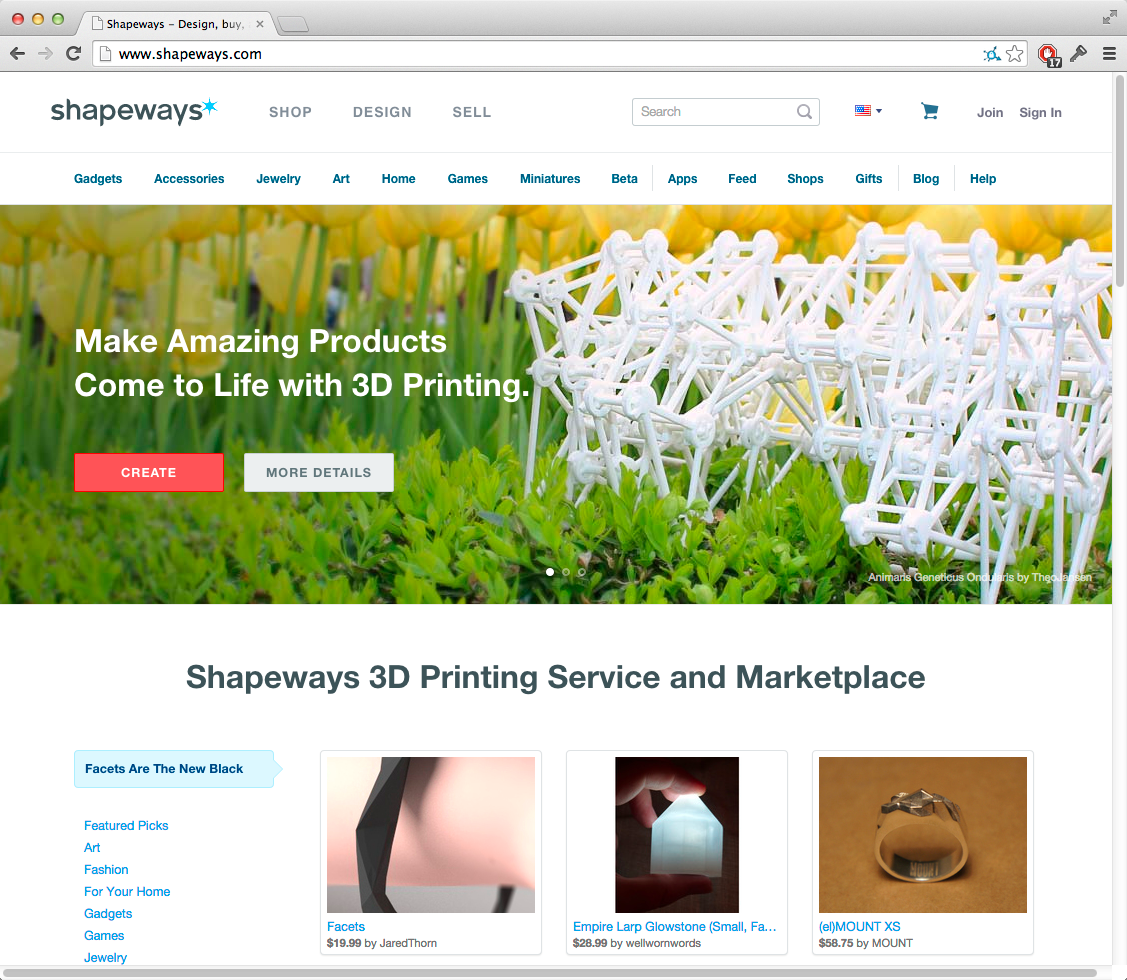
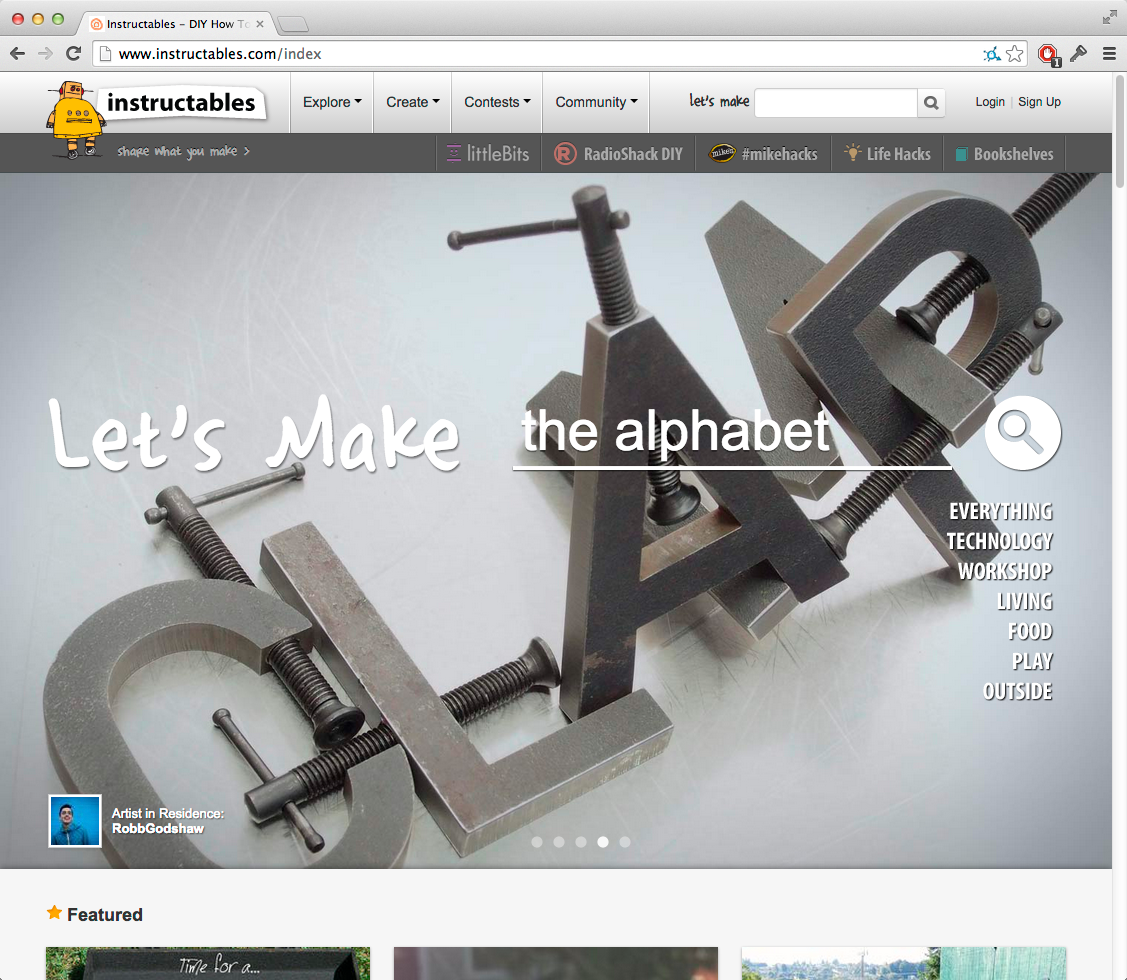
Fabrication on demand, design- and skill-sharing sites.
Digital Natives by Matthew Plummer Fernandez
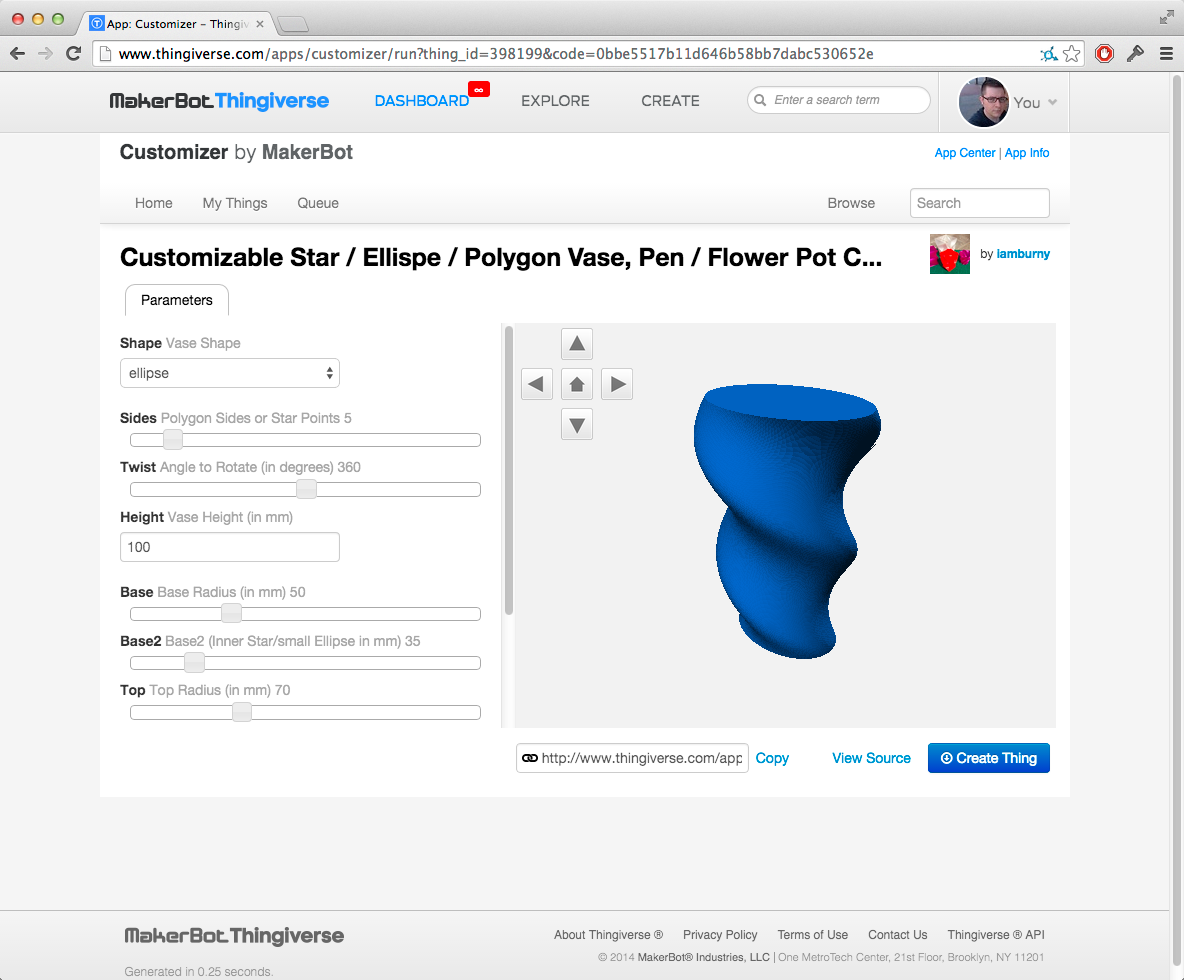
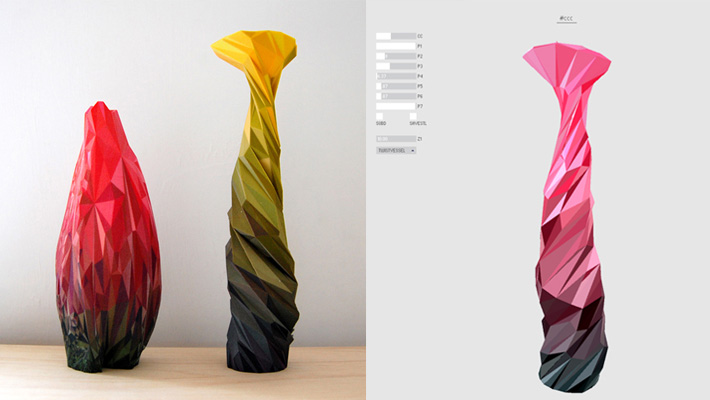
Customizable Freestyle Base Vase by anoved
Customizer is based on OpenSCAD so you can make your own customizable things.
Mataerial by Petr Novikov & Sasa Jokic
3D House Printer Construction Robot by Andrey Rudenko
RepRap
Adrian Bowyer, founder of the RepRap Project
RepRap Family Tree
Some Notable RepRap Designs
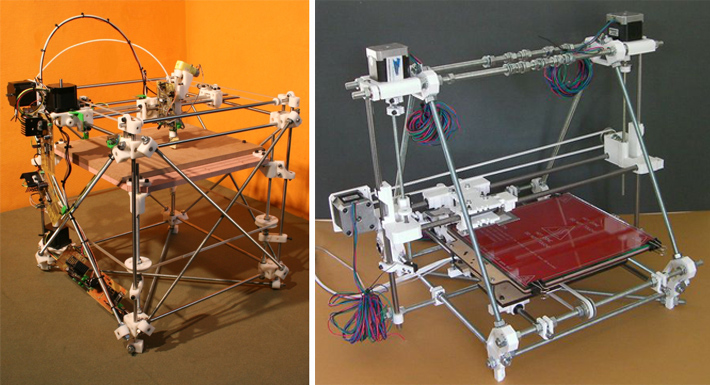
RepRap Darwin and Prusa Mendel designs
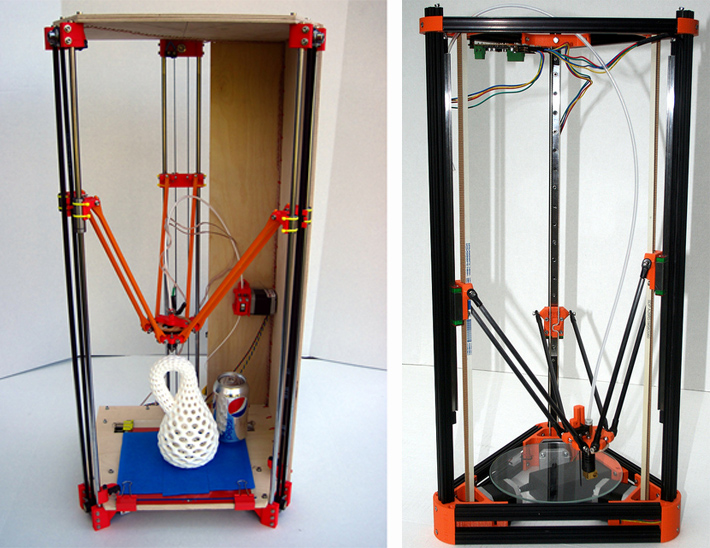
Rostock & Kossel Mini (Delta)
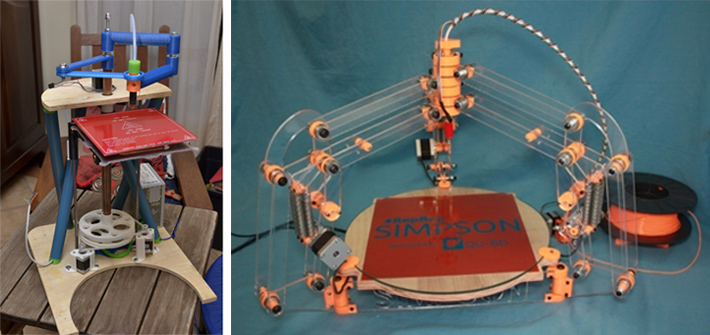
Morgan & Simpson
Beyond RepRap
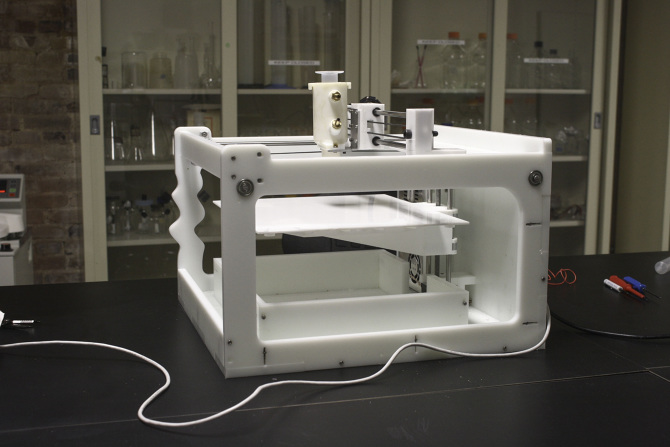
Jimmi, a locally designed printer available in the dFab.
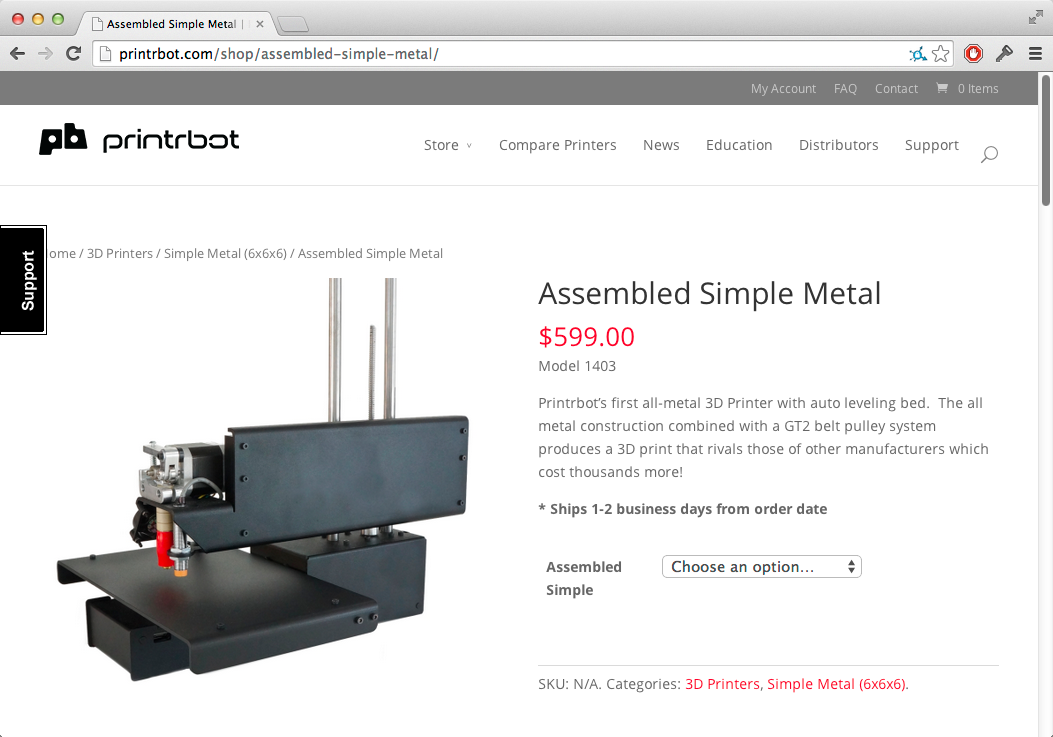
Printrbot Simple Metal, a $600 3D printer, assembled.
Let's Print Some Stuff!
Before we can do any printing, we need a file to print. Let's start with something simple:
- Resistor lead former (link)
The Printing Toolchain (Part 1)
For more details and screenshots, feel free to check out the dFab RepRap Workflow.
Please install this software on your laptop:
- Slic3r - 1.1.7 is stable, or press your luck with 1.2.0 experimental.
- Printrun (aka Pronterface)
- Slic3r configuration files for dFab RepRaps (link)
- Grab the one for Prusa i2 3mm PLA
Slic3r
- Slices an .stl file into a continuous toolpath, encoded in a language the printer can interpret (G-code)
- Setting up configuration file to work with department printers. Be sure to save the configuration for all 3 settings!
- Exploring the settings.
- Basic operation.
- Exporting g-code.
Printrun
- Communicates with/controls the printer.
- Connecting to printer.
- Loading file.
- Setting hotend and bed temperatures. Watching temperature.
- Homing the printer ("kick tires" first).
"Kicking the Tires"
Before you home the printer, you must inspect the printer. EVERY TIME!
- These printers have 3 endstops (switches). Know where they are.
- Move X and Y axis until you hear click of the switches. You will be heading oward the front left corner of the bed.
- Look at Z endstop. Does it look like it lines up with the x-carriage above it? Make sure it does.
- Put fingertip on the endstop and click the Home Z button in Printrun. Still look good? Hit home button again.
- Ideal spacing between nozzle and the glass bed is just enough space to fit a piece of paper under. Adjust endstop until it feels right.
- Test other areas on the bed by tunring off motors in Printrun and manually moving X and Y. Use corner levelers if it is way off.
- Clean off any old residue with a scraper. Clean dust and grease with vinegar and paper towel. Clean bed!
- EVERY TIME!
First Prints
- Extrude some PLA to get things going. Hit the Extrude button in Printrun once to extrude 5mm.
- When everything is loaded, ready, and inspected, press the Print button.
- Make sure to stay close to the printer in case there is a problem. Check on it periodically.
- Pause the print if there is a problem.
- Turn off heat, scrape, and restart if you want to start over.
- In case of emergency, pull the POWER CABLE not the USB CABLE!
- Estimated time to print at bottom.
- When finished, the hotend and bed will turn off. When cool, you'll hear your parts crack off. Don't be impatient.
Homework
Order/buy 3mm PLA Filament (tonight or tomorrow).
Make sure you're buying:
- PLA
- 3mm diameter
- At least 1 lb. (more if you like!)
These vendors sell good quality stuff (There are many more online, but the quality varies. THIS KIND OF THING WILL CAUSE YOU/US HEADACHES):
- Ultimachine (very high quality!
- Protoparadigm (Also nice! 10% student discount. 2.2 lb. rolls only!)
Install this stuff on your laptop:
Read this stuff (we'll discuss it in 2 weeks):
- Medium from Abstracting Craft: The Practiced Digital Hand, by Malcolm McCullough (link)
Do this stuff:
- OpenSCAD introduction tutorial (link)
- The navigation is a little confusing. Follow the links in the upper-right.
- Begin working on a small form (less than 4cm in its biggest direction). Try starting with something that has a flat bottom and minimal overhang. Bring .scad file to class next week.