Week 2: September 15, 2014
Welcome Back!
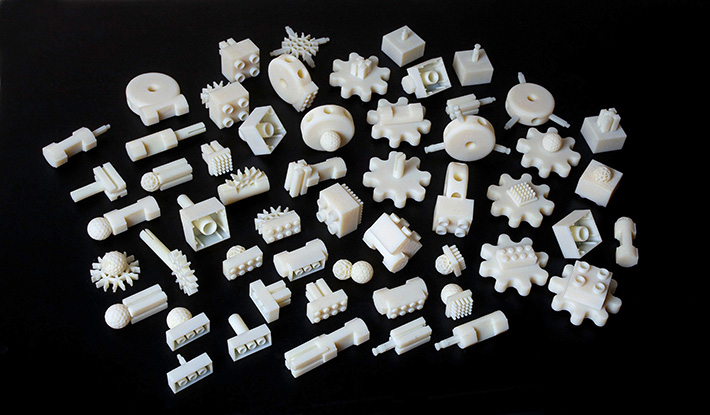
Free Universal Construction Kit by F.A.T. Lab.
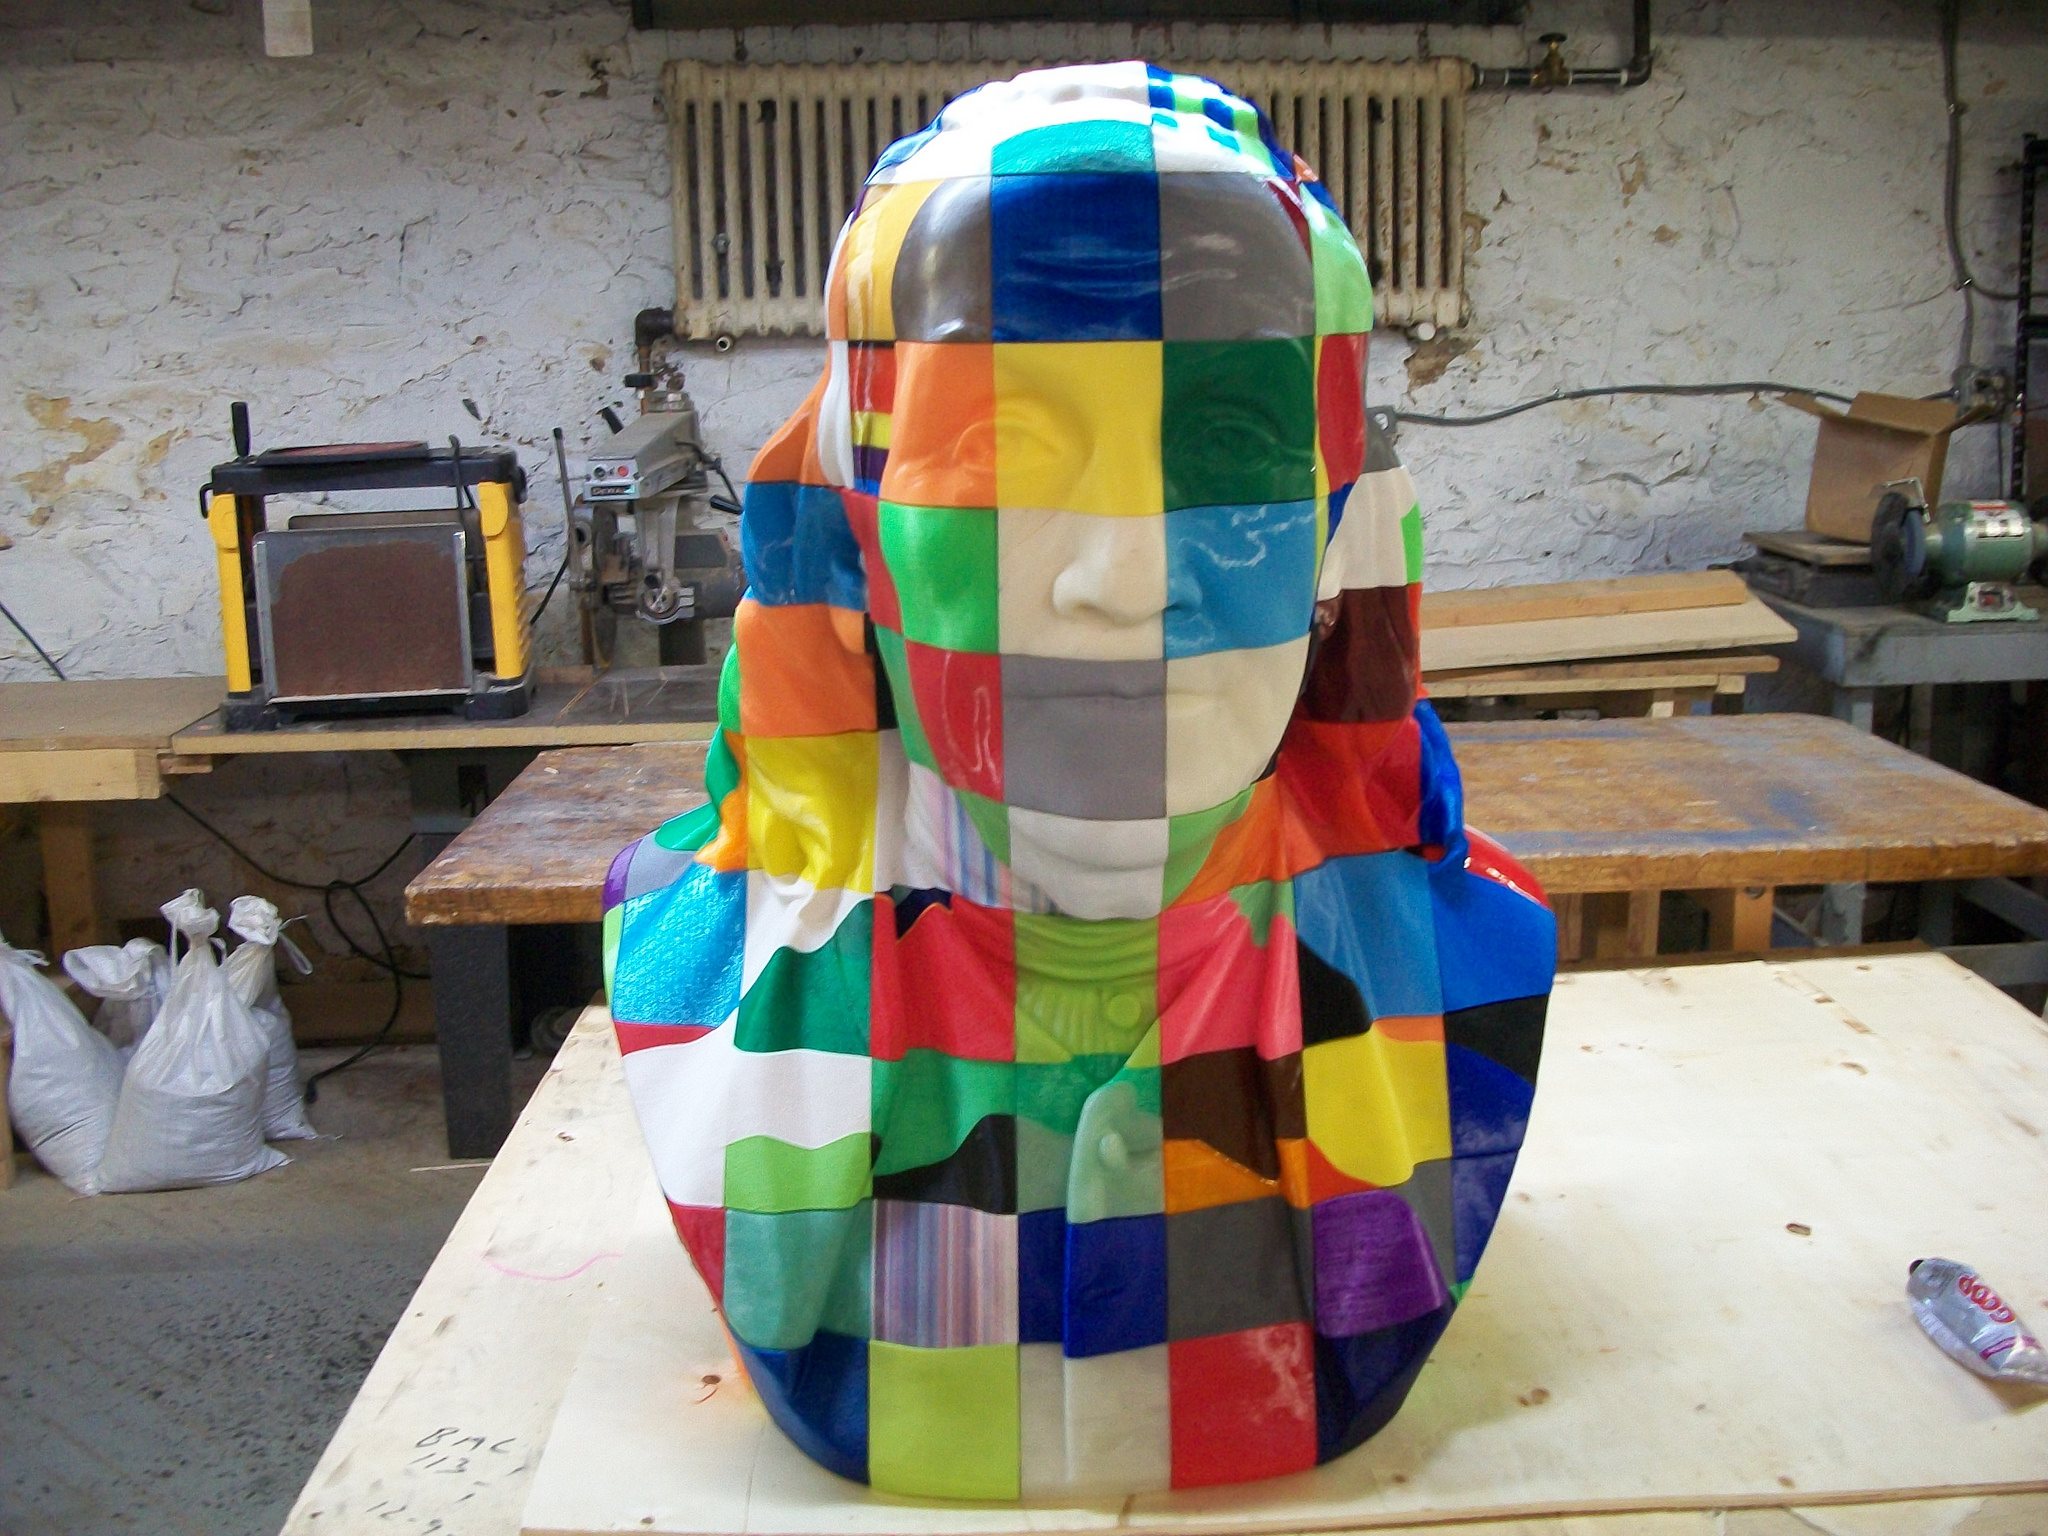
Benjamin Franklinstein by We the Builders.
Today!
- Intro to UP!
- Homework review
- Intro to OpenSCAD and NetFabb Basic
- Slic3r (multi-part and support material)
- Printing
- Lunch
- Guest Speaker!
- Discuss next homework
- More printing
Intro to UP!
Today I brought in an UP Plus 2. Also known as the Afinia H-Series.
- These belong to the Interactive Arts dept.
- Available in Brown 217 (door is coded)
- Grab the UP! Software
- Be sure to follow the steps in the Quick Start Guide.
- Heat and test extrusion
- Use the leveling probe to auto-level the bed
- Use the nozzle height probe to automatically determing nozzle height
- Print!
If you get an error about the print being out of bounds, check the settings under 3D Print | Calibrate. Click the Reset button, then set X1, X2, Z, and H to these values:

X1: 124, X2: 124, Z: 0.0, H: 42
Homework Review
- Let's look these over!
- Please name your OpenSCAD file like so:
lastname_firstname_hw1.scad - Upload them to the HW1 Drive Folder
Review OpenSCAD Basics
Any questions about OpenSCAD tutorial?
- Basic forms (cube, sphere, cylinder)
- Transformations (scale, color, rotate, translate)
- Combining forms (difference, intersection, union)
- Compiling and rendering
- Exporting .stl file
NetFabb Basic
Netfabb Basic is a free program which can be used to verify and repair .stl files. You will need to use this if Slic3r complains about a hole in your .stl file.
- Repairing files
- Exporting repaired .stl files
- Instructions here.
Even better:
- NetFabb Cloud can do all of these things for you with a simple upload to your browser.
Slic3r (part 2)
- Multiple objects on the same plate.
- Brims and support material.
Let's print some stuff!
If you were in the last groups to print last week, then you are first to print today.
Print with a partner. Please plate both objects together in Slic3r and then generate G-Code.
If you are really not interested in printing the form you made with OpenSCAD over the weekend, you have two choices:
- Make another form!
- Print out one of the .stl files from the Free Universal Connector Kit
Remember to "kick the tires"
Before you home the printer, you must inspect the printer. EVERY TIME!
- These printers have 3 endstops (switches). Know where they are.
- Move X and Y axis until you hear click of the switches. You will be heading oward the front left corner of the bed.
- Look at Z endstop. Does it look like it lines up with the x-carriage above it? Make sure it does.
- Put fingertip on the endstop and click the Home Z button in Printrun. Still look good? Hit home button again.
- Ideal spacing between nozzle and the glass bed is just enough space to fit a piece of paper under. Adjust endstop until it feels right.
- Test other areas on the bed by tunring off motors in Printrun and manually moving X and Y. Use corner levelers if it is way off.
- Clean off any old residue with a scraper. Clean dust and grease with vinegar and paper towel. Clean bed!
- Pre-heat the extruder and do a test extrusion before starting your print.
- Pre-heat the bed, too!
- EVERY TIME!
Guest Speaker
Shawn Grimes, Director of Technology at the Digital Harbor Foundation.
Homework
Do this stuff:
- OpenSCAD tutorial 2 (ignore multmatrix) (here)
- Begin working on a small form (less than 6cm in its biggest direction). Bring .scad file to class next week. You will have time to work on your forms in class, but printing priority goes to those with finished models.